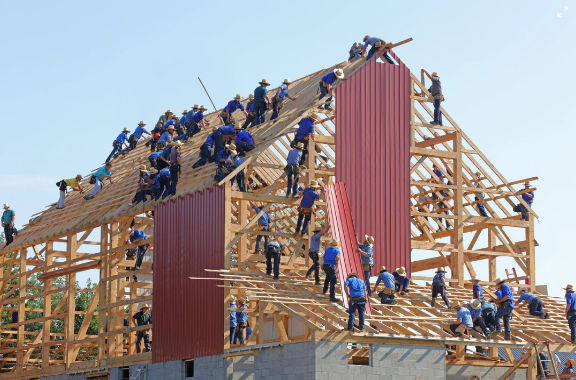
It may seem like a simple part of the overall construction process, but the most important part of your entire project is your base. The main reason is that any mistake done in the base will only get worse as you move up. It is referred to as Compounding Defects, and it means that errors are growing. Here’s an example: when you start framing, you note the slab foundation is out by 3/4″ of square. The overall building is also 1/2″ off-level. You may think, “Oh, that can work. I’m just going to adjust the framing.”
You get up to the roof once you’ve finished the framing and found that the building is now 1″ out of square and 3/4″ out of the floor. Bummer, but in the roof framing you can catch it. When you see the metal roof, the square panels don’t match on your square roof and you’ve got to “make it work.” Finally, everyone even your grandma can see that the roof is out of square and that simple error in your foundation that you ignored has destroyed the look of the house. I personally saw that happen to somebody. It was an “easy” mistake and as he went on with the construction process, it has gotten worse and worse.
Here’s another explanation of why your foundation needs the utmost attention and eye for detail: the whole house is sitting on top! This is not an easy fix when you skimp here and it fails. Is applying a little more rebar to the concrete worth the extra few dollars? Yeah. It is important to ensure that the foundation is designed for the best possible standards. When constructing your base and/or slab, here are some important things to look for.
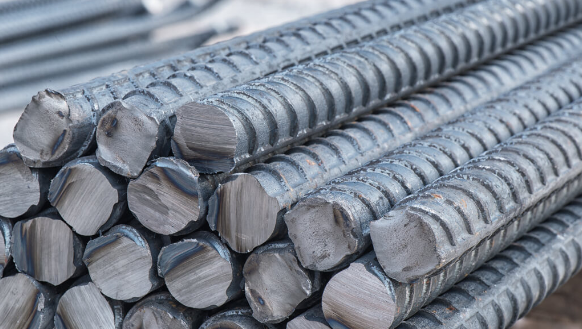
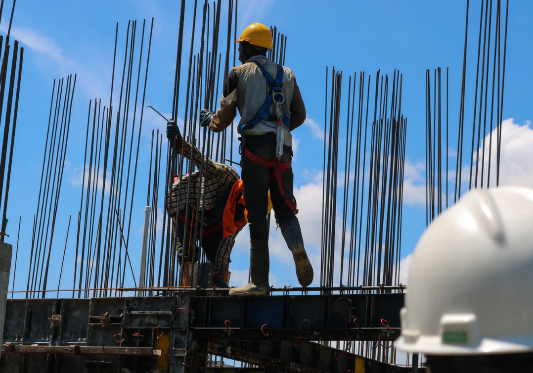
- Make sure the rebar is the right size for your soil / geological conditions and set in the right spacing. Using #4 rebar in the foundation walls and #3 in the slab on a grid pattern of 18″x18″, a typical residential house in the United States. The design for the rebar of the foundation depends on the size of the base wall and the local codes.
2. Do not allow any rebar to “daylight” or even get close. Neither rebar should be terminated and put within 4″ of the concrete rim. Rebar will pull moisture from the outside and rust closer than this. The rust can weaken the rebar and make the whole rebar system useless over time.
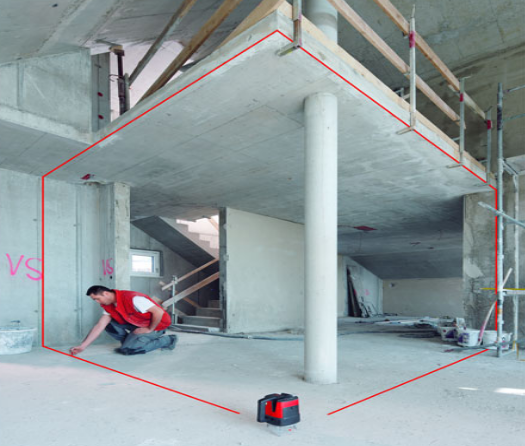
3. Pay special attention to your foundation and slab design. Make sure the corners are straight and square. The closer you are to the ideal, the better, but for an approximately 2000 SF house you should not be more than 1/4″ out of square or standard. Use a laser level if you’ve got one,the best standby of all time: a steam level. It’s the lowest rate you’ll ever find. It’s just some transparent plastic tubing, water, and some red food coloring to help you see the level lines better. You can also use this set by yourself.
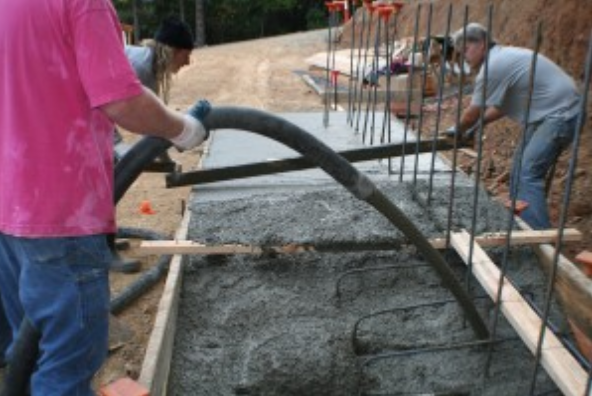
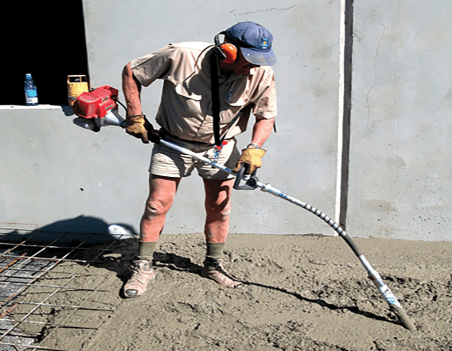
4. Allow until the water evaporates from the top of the slab before you begin troweling to finish. If you press that water back into the concrete surface, it will weaken the concrete. Allow it to cast off the water it doesn’t “like” and then get on it for the finishing job.
5. Do not over-finish the ground if you intend to paint the concrete with acid. If you polish the surface quite so much, you can seal it beyond the reaction of the acid stain. You can absolutely get the surface polished. Don’t get me wrong, the trick is not to heck out of the slab using power trowel
6. Use a stepped base to reduce concrete use where appropriate. If you’ve got a sloping site, walk up or down the foundation to deal with the topography. Make sure you calculate the steps and keep them in line with the bale paths so if that fits with your model you can walk the bales down the road too. It won’t apply in all situations, but if it does, to keep your bale work quick, it’s nice to get it right when you step down the foundation.
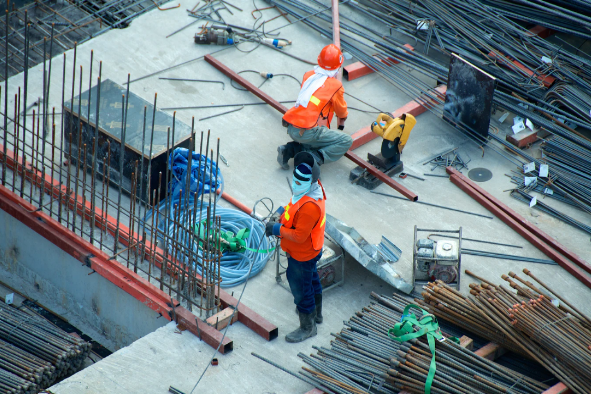
7. When you’re finishing the slab, spend some extra time around your foundation bolts. Most people don’t pay much attention because they think “it’s going to be covered in the wall so who cares if it looks decent.” This is another way that exacerbates errors. When adding the 4×4 toe ups to a set of foundation bolts that stick out of improperly finished concrete you’ll easily find that the 4×4 toe-ups won’t sit comfortably. The thick 4×4 won’t flex the same as the 2×4 to match flat either, so you’ll be left with a toe-up in some places in the air and straight in others.This not only enables air gaps that bugs can pass through but also messes up the construction before you even begin it. Do these areas well and you’ll be happy you’ve done that.
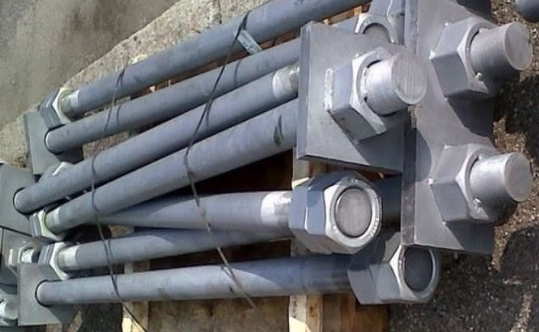
8. For the inner toe raises, use Wedge Bolts or other “after treatment” anchors. By inserting the interior anchor bolts after the concrete has been poured, you can achieve a better finish on the concrete (not only for the bolts as mentioned in #7 but also for the floor that comes very close to the anchor bolt locations). Using the drill in bolts also makes it much easier and more precise to design and mount the inside toe up.
9. Make sure your shape boards vibrate to remove concrete “honeycombing.” Not only does this boost the wall’s strength, but it also improves the appeal. This can be as easy as banging against the form boards with a hammer while the concrete is still wet. Do this BEFORE you complete the ground as the friction will make the concrete drop a bit of a layer.
10. For your pours, use appropriate bracing. There’s nothing worse than blowing out a form board while pouring. This means you’re going to use more concrete to fire your nice straight line. To help the shapes during the pour, use plenty of diagonal braces.